How to generate NSFW AI images
A step-by-step guide to generating NSFW AI images: writing prompts, using face, outfit and pose references, and fixing common issues. Try it free with 3 images.
This guide walks you through generating NSFW AI images step by step: writing a prompt the model follows, adding face, outfit and pose references, refining the result and fixing the most common problems. Open the NSFW AI image generator in another tab and follow along — new accounts get 3 free images.
Before you start
Muse is an uncensored AI image generator for adults. Your prompt goes straight to the image model — nothing rewrites or refuses it — so nudity and adult themes are allowed. A few rules still apply, and breaking them ends your account:
- You must be 18 or older.
- Every character must be an adult, whatever the art style — anime included. Say so in the prompt, for example “a woman in her late 20s”.
- No intimate images of real people without their consent. Only upload photos you have the right to use.
- Nothing that is illegal where you live.
You sign in with a free Agentics account, which comes with 3 free images. After that each image costs $0.10 from your wallet, and a failed generation is never charged.
Step 1: Write a prompt the model can follow
Open Create AI Image. With no images added, the box generates from your text alone. The model takes your words literally, so describe the picture you want to see rather than the mood you hope for. A reliable order is:
- Subject — who is in the picture: age, body type, hair, face.
- Outfit — what they wear, or how little, with colours and fabrics.
- Pose and action — kneeling, lying on a bed, looking over the shoulder.
- Setting — a hotel room, a beach at sunset, a neon-lit alley.
- Light and camera — soft window light, flash, close-up or full body, 50 mm lens, shallow depth of field.
- Medium — photo, anime illustration, oil painting, 3D render.
Photorealistic boudoir photo of a woman in her late 20s with long auburn hair and freckles, wearing a black lace bodysuit, kneeling on an unmade bed and looking over her shoulder at the camera, soft morning window light, 50 mm lens, shallow depth of field, natural skin texture
Anime illustration of an adult woman in her 20s with silver hair and red eyes, wearing a white bikini, lying on a beach towel at sunset, warm rim light, full body, clean line art, vivid colours
Prompts work in any language, but English is followed most reliably. Be concrete: “red silk slip dress” beats “sexy outfit”, and “full body, feet visible” beats hoping the framing comes out right.
Step 2: Pick a style and an aspect ratio
Style, under the prompt, opens a library of 1,300+ looks — live-action, 3D and 2D, from film stills to watercolour and anime. A style adds its own instruction to your prompt, so your prompt can stay about the content while the style takes care of the look.
Choose the aspect ratio before you generate: a tall ratio such as 3:4 or 9:16 for full-body shots, 1:1 for close-ups, 16:9 for wide scenes. Then press Generate. The finished image opens in Edit AI Image, so you can keep working on it.
Step 3: Use face, outfit and pose references
Text alone is hard to repeat: the same prompt gives a different face every time. Reference images fix that. Add up to 3 images to the prompt box — upload them, or pick them from My Creations or your Library favorites — and the box switches from creating to editing:
- Image 1 is the image being edited. Put your face reference here, so the result keeps that person’s identity.
- Image 2 and Image 3 are references — typically an outfit and a pose.
The model does not guess what each image is for, so say it in the prompt:
Keep the face, hairstyle and identity of the woman in Image 1. Dress her in the full outfit from Image 2, keeping its colours and fabrics. Match the body pose in Image 3. Full body, clean studio background, soft light, photorealistic.
For poses, choose a depth map in the Library rather than line art: white is near and black is far, so the model can tell which arm or leg is in front. Not sure where to start? The 🎲 button on the homepage loads a random face, outfit and pose together with a ready-made prompt.
Step 4: Refine the image with edits
Most good images take a few rounds. In Edit AI Image, give one short instruction at a time; the model changes what you ask for and keeps the rest, so the character stays the same:
- “make the lingerie red”
- “change the background to a hotel room at night”
- “she is lying on her side, facing the camera”
- “remove the person on the left”
Every result is a new version. Compare any two with the wipe slider, blink or difference view to see exactly what changed, and carry on from whichever version you like best. Images stay in My Creations for 3 days, so download the ones you want to keep.
Fixing common issues
The face changes from image to image
Use the same face reference as Image 1 every time and start the prompt with “Keep the same face and identity as Image 1”. For a series, edit your favourite result instead of generating each image from scratch.
The outfit or pose from a reference is ignored
Name the image and what to take from it: “the outfit from Image 2”, “the pose in Image 3”. Clean references work best — one outfit on a plain background, a single-person pose.
Extra limbs, merged bodies or bad hands
Simplify the pose, use a depth-map pose reference and add “natural anatomy, correct hands with five fingers”. If only one hand is wrong, fix it with an edit such as “fix her left hand”.
It looks plastic or too “AI”
Ask for what a camera would capture: “natural skin texture, soft window light, 35 mm film photo, light grain”. A live-action style from the style library helps too.
The framing is wrong
Name the framing outright — “close-up”, “upper body”, “full body, feet visible” — and pick an aspect ratio that fits it, such as 9:16 for full body.
The generation failed
Failed images cost nothing: a free image is given back and a paid one is not charged. Try again, or reword the prompt.
Next: turn your image into a video
Once you have an image you like, animate it. Image to Video turns a photo into a 1–15 second clip from a short description of the motion, and 360 Orbit circles the camera once around your character. Videos are paid from your wallet — $0.10 per second, $0.30 per orbit — and free images do not apply to them.
Related guides
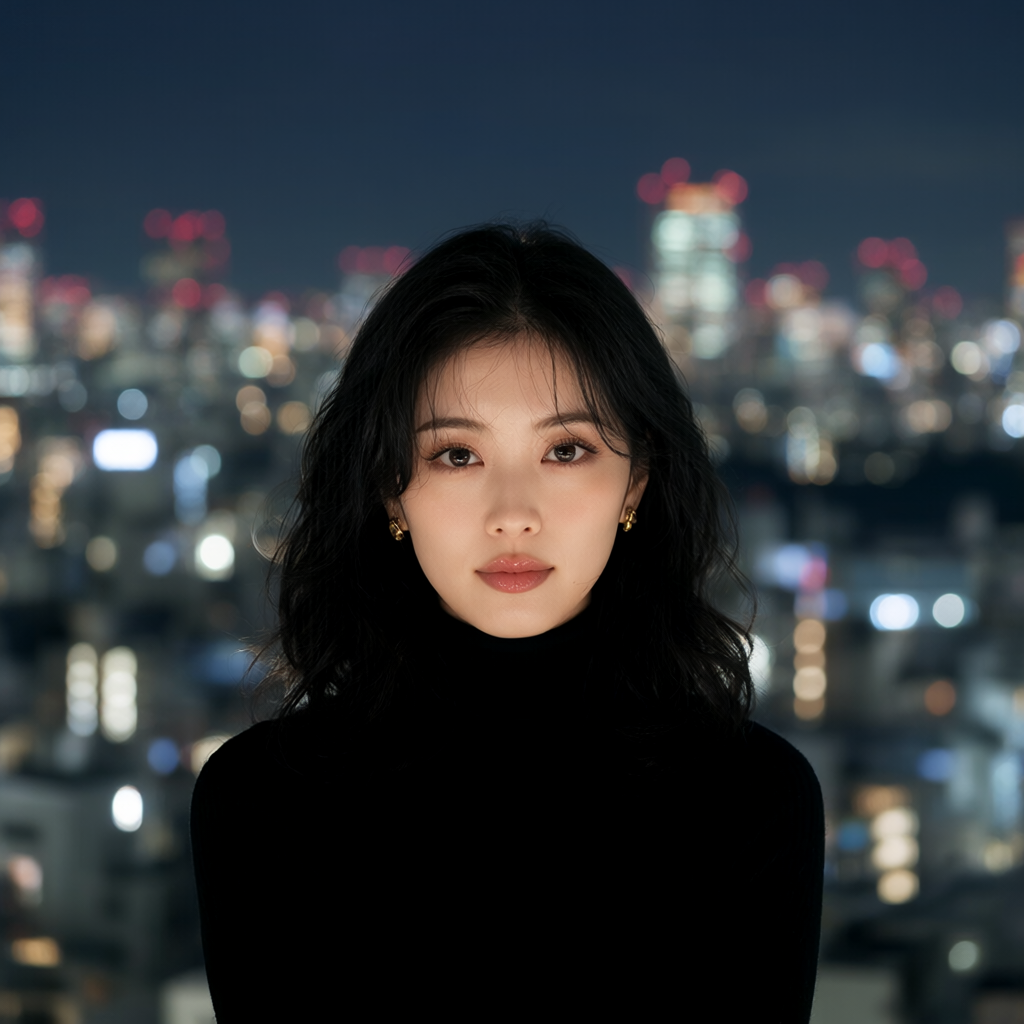
Make a looping 360° orbit from one square image
Turn one square still into a seamless 3-second camera orbit with Muse 360 Orbit. Crop, generate, download — no prompt needed. Step-by-step.
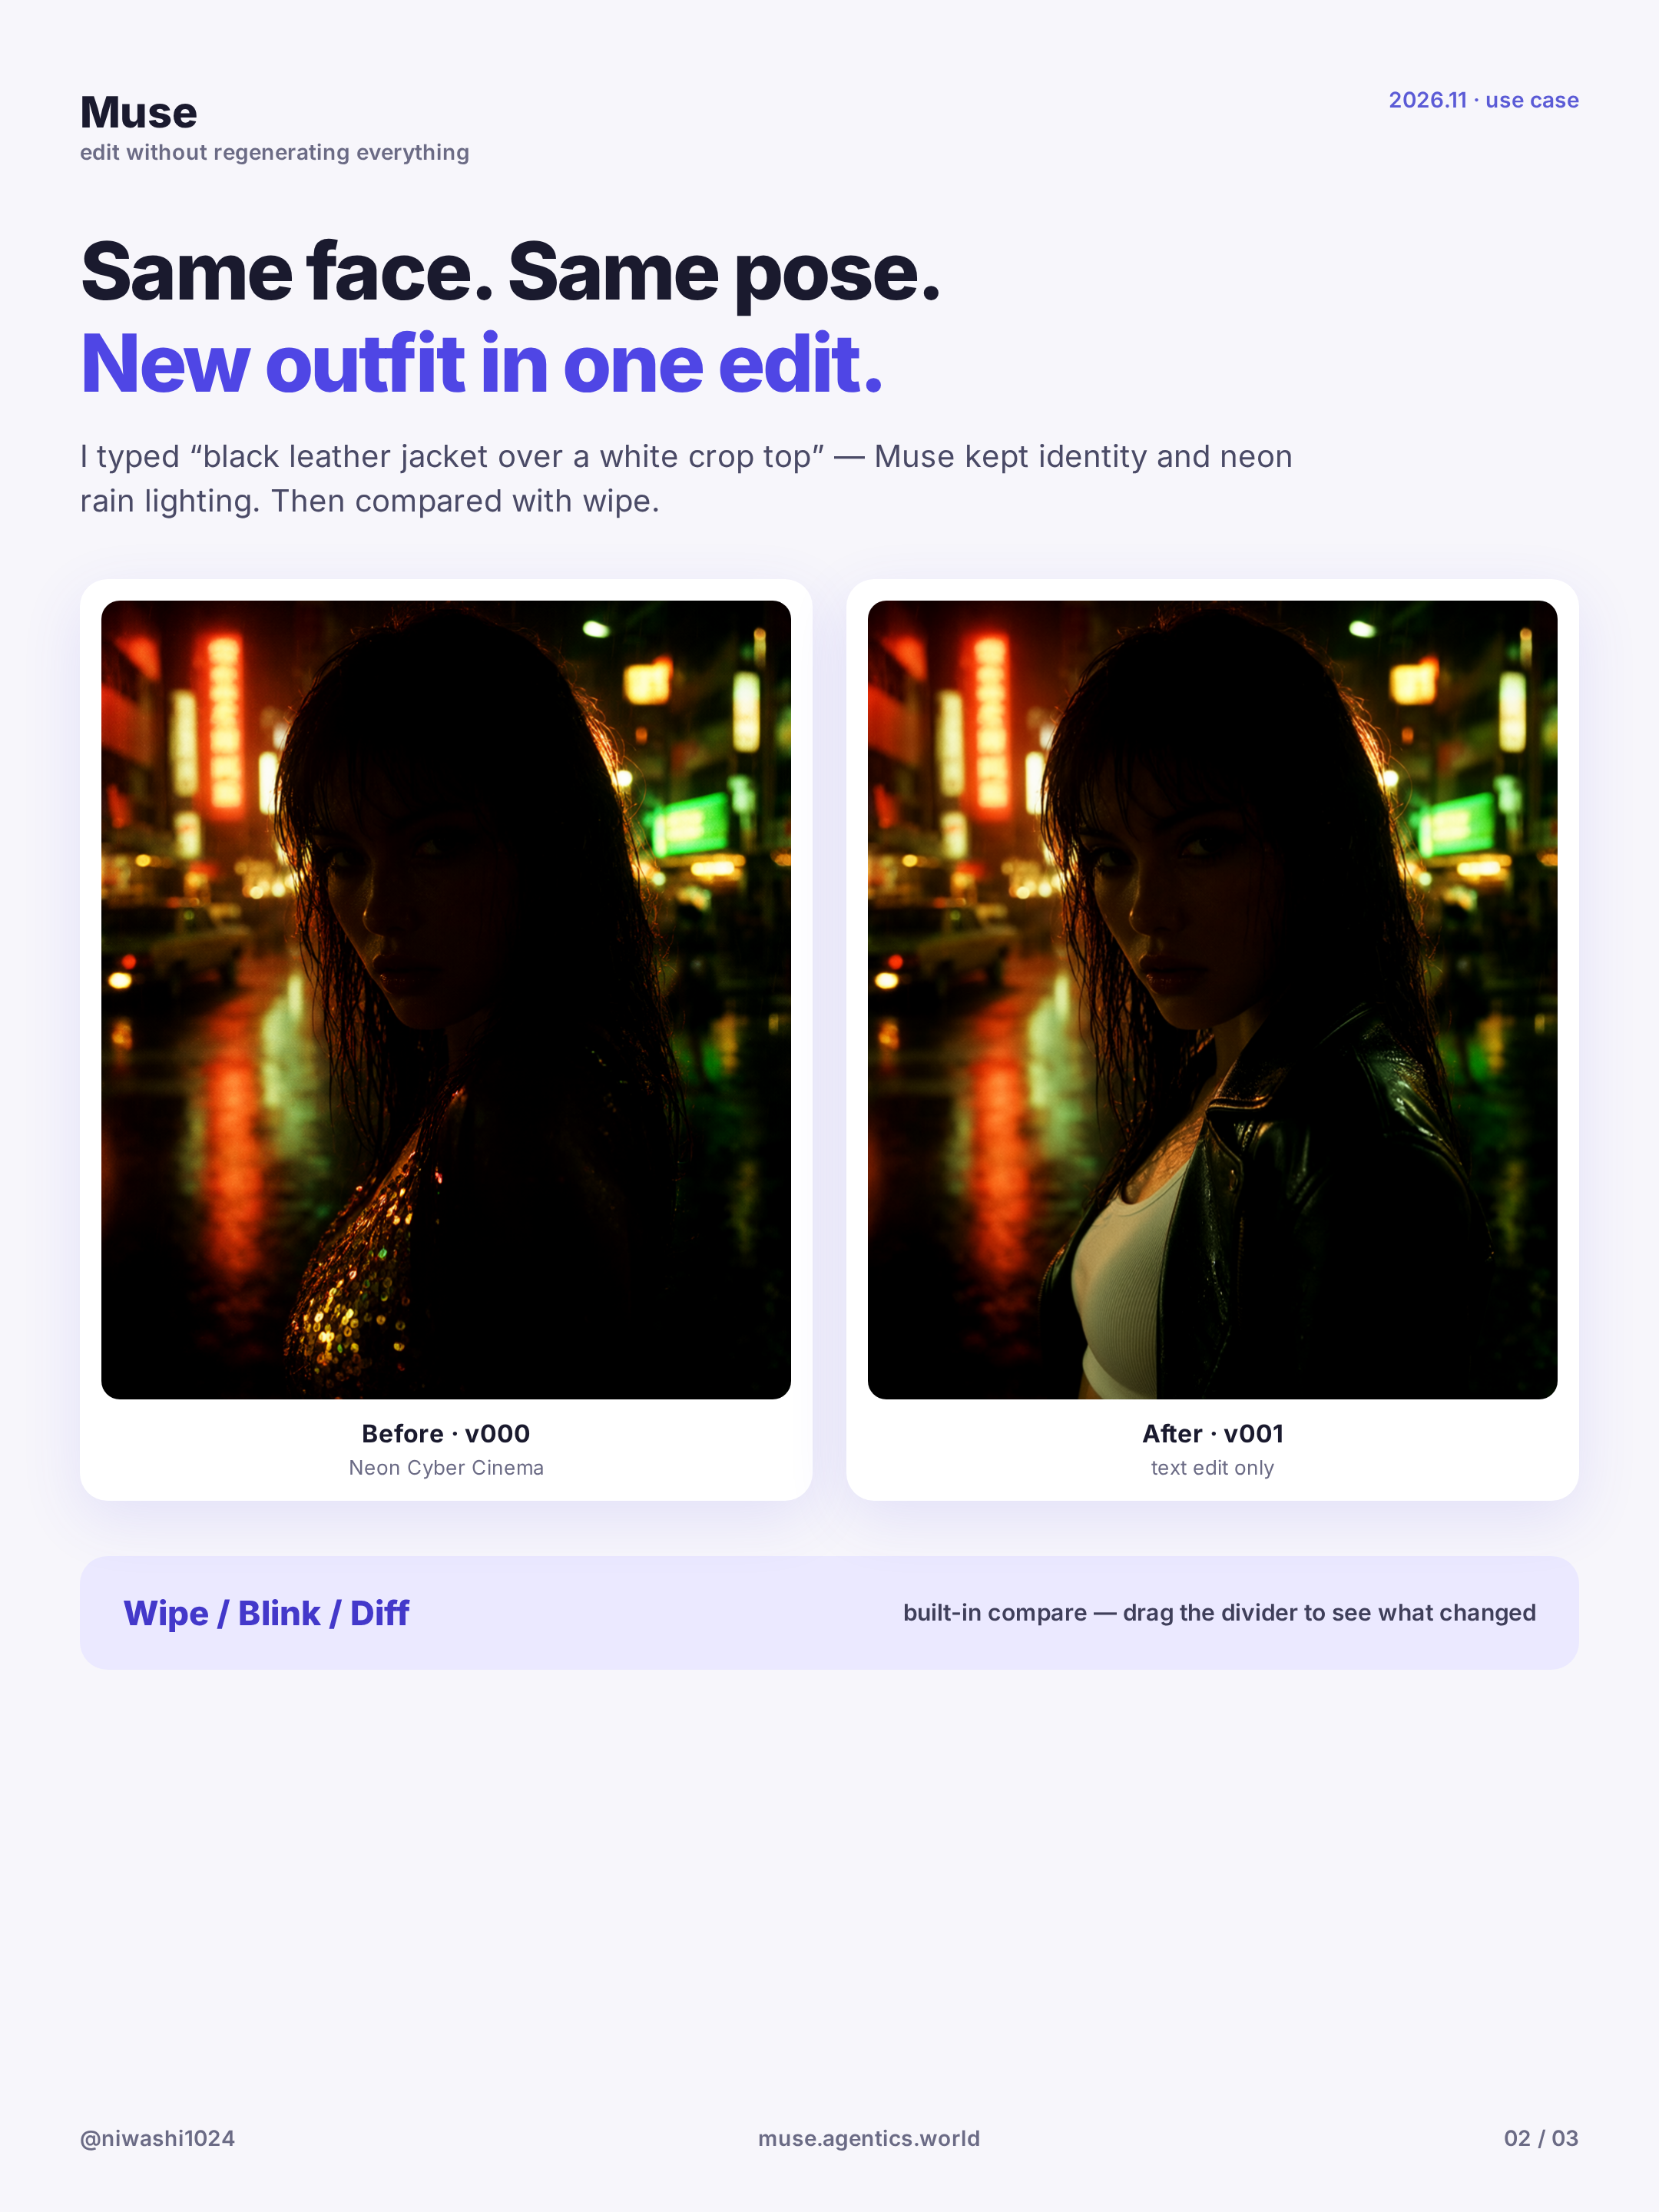
Keep the same face across outfit edits (with A|B wipe compare)
Upload or generate a base character, change the outfit with one prompt while keeping the face, then compare versions with the A|B wipe slider. Step-by-step.
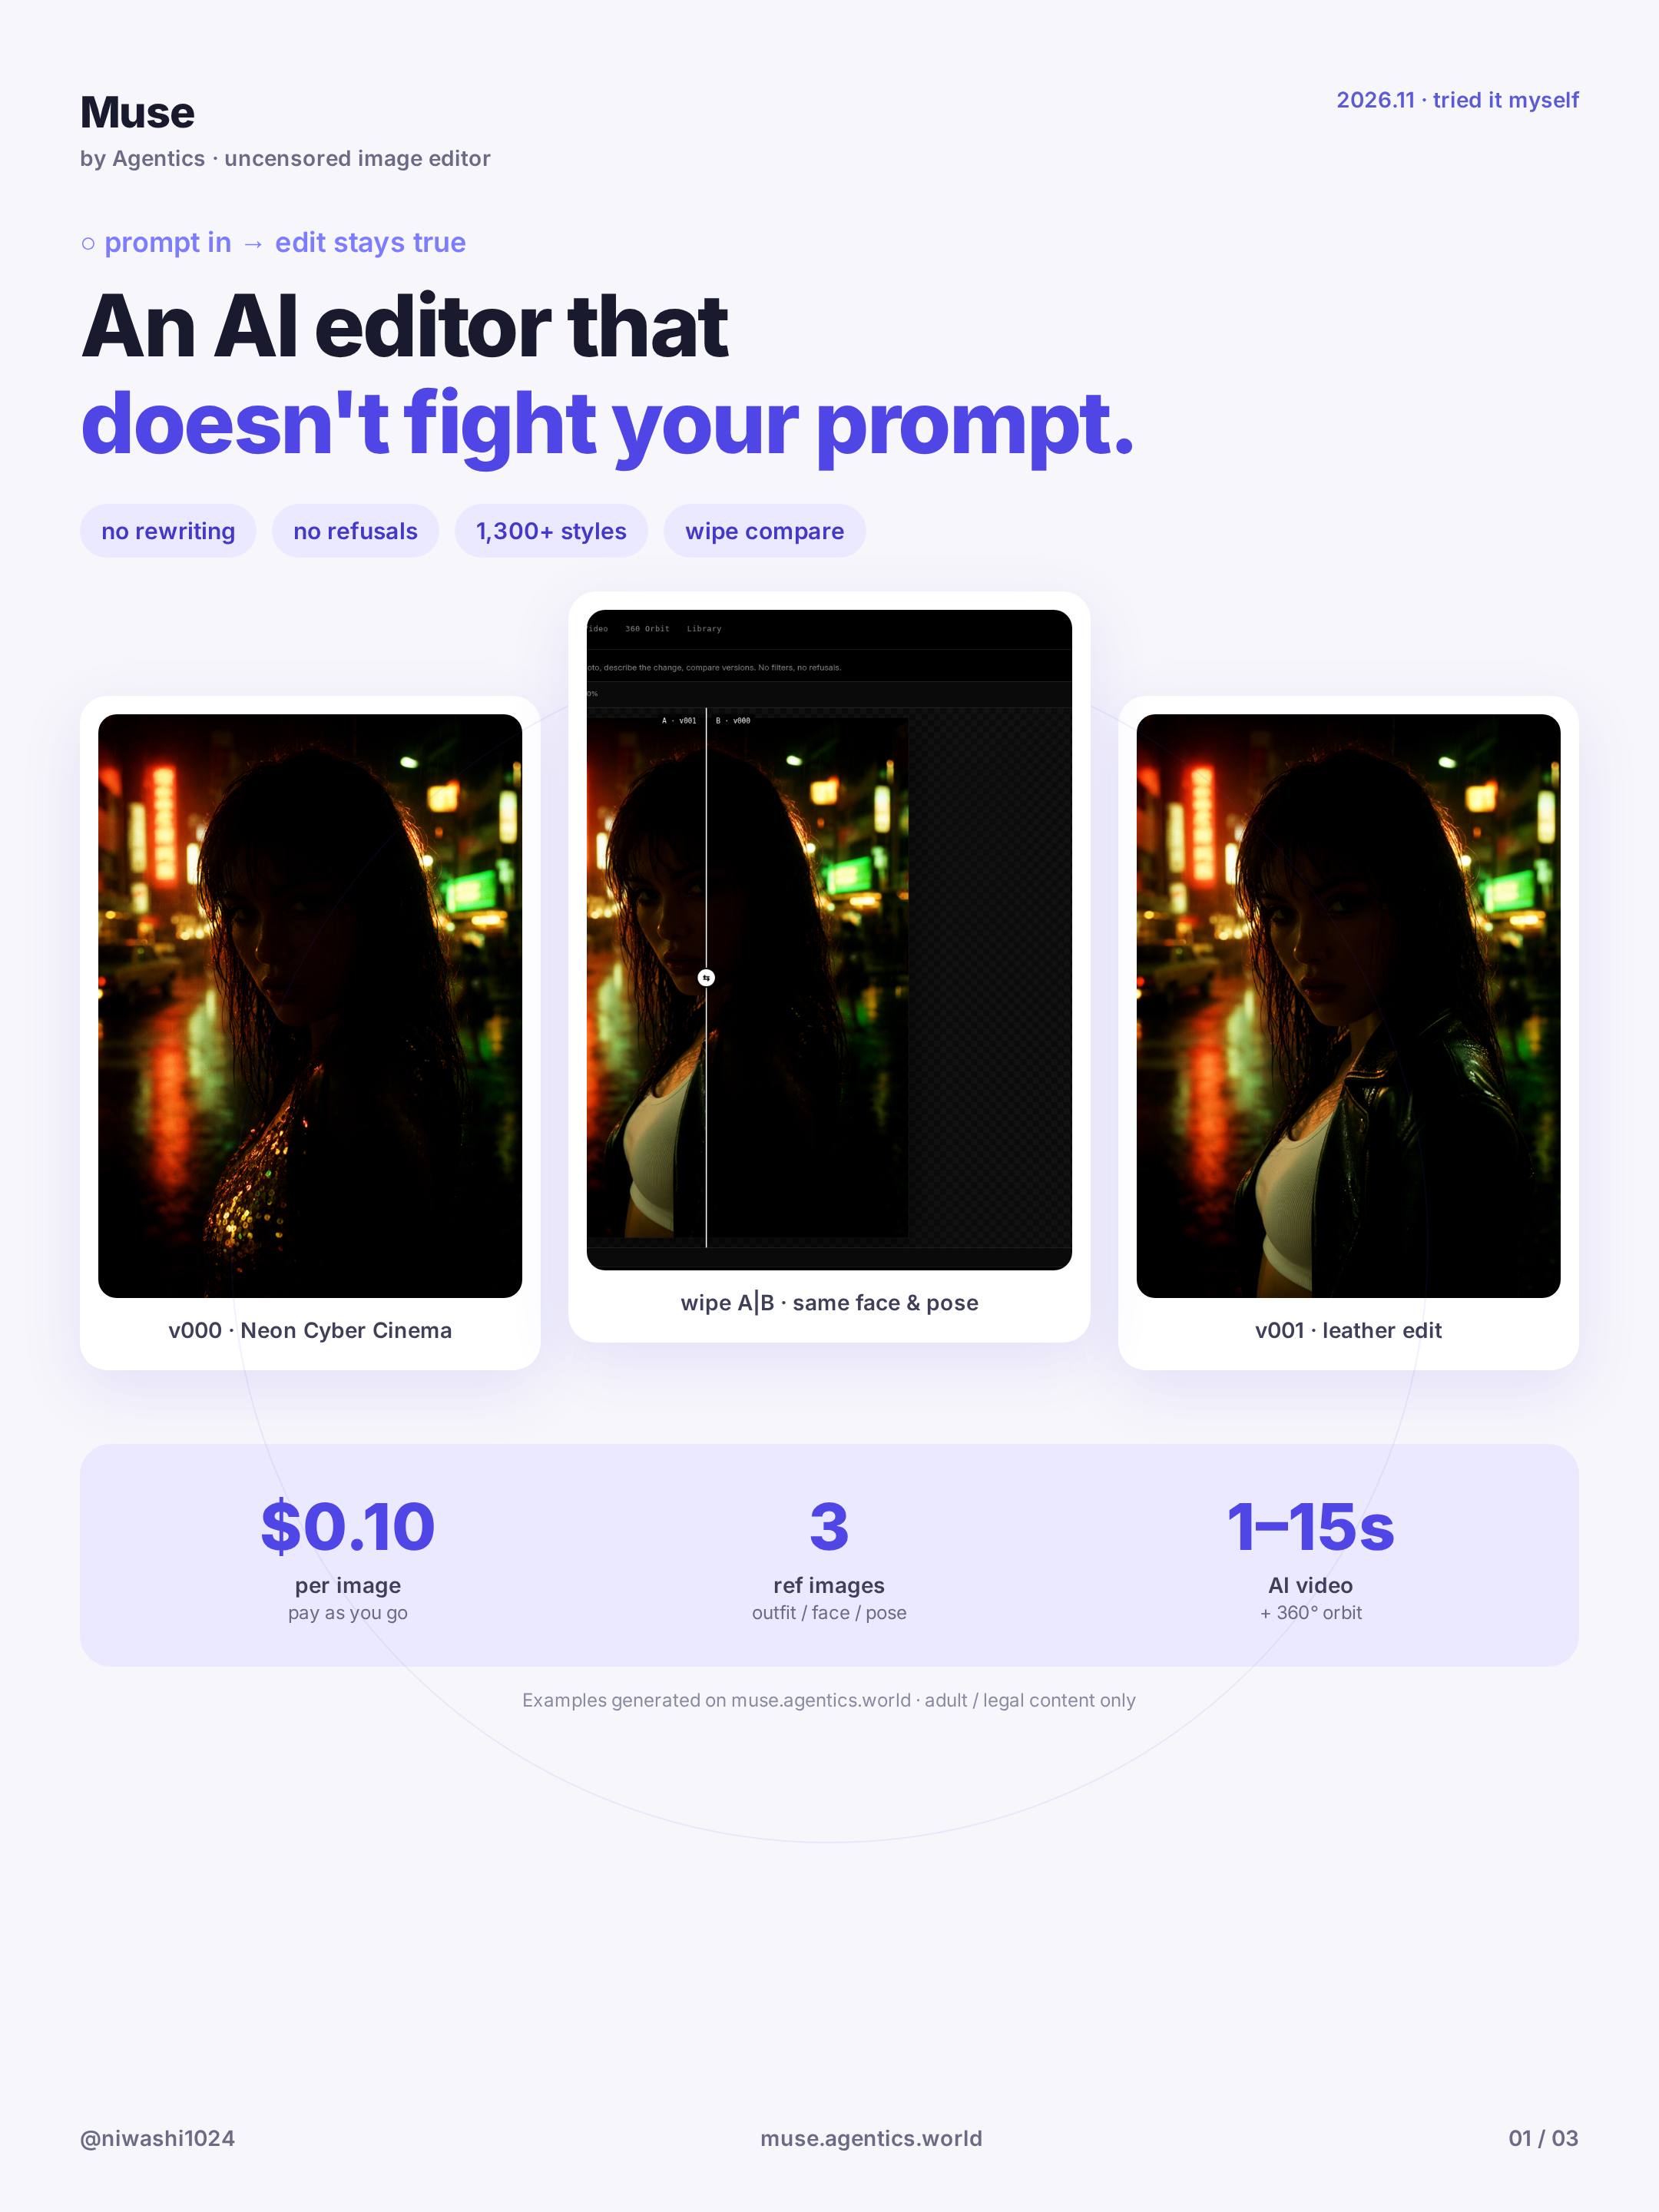
Getting started with Muse: uncensored AI image editing and pricing
What Muse is, how to sign in, the 3 free images and pay-as-you-go rates, and how to run your first face-consistent edit. Step-by-step.